

Learn how to build AI-powered drone applications with Ultralytics YOLO11, enabling real-time object detection and drone-based computer vision tasks.
Learn how to build AI-powered drone applications with Ultralytics YOLO11, enabling real-time object detection and drone-based computer vision tasks.
In-store shopping and online shopping may seem alike, but they rely on different logistics. Stores need shelves restocked, while online orders depend on doorstep deliveries. Thanks to technological advancements, both shopping experiences are being reshaped in parallel.
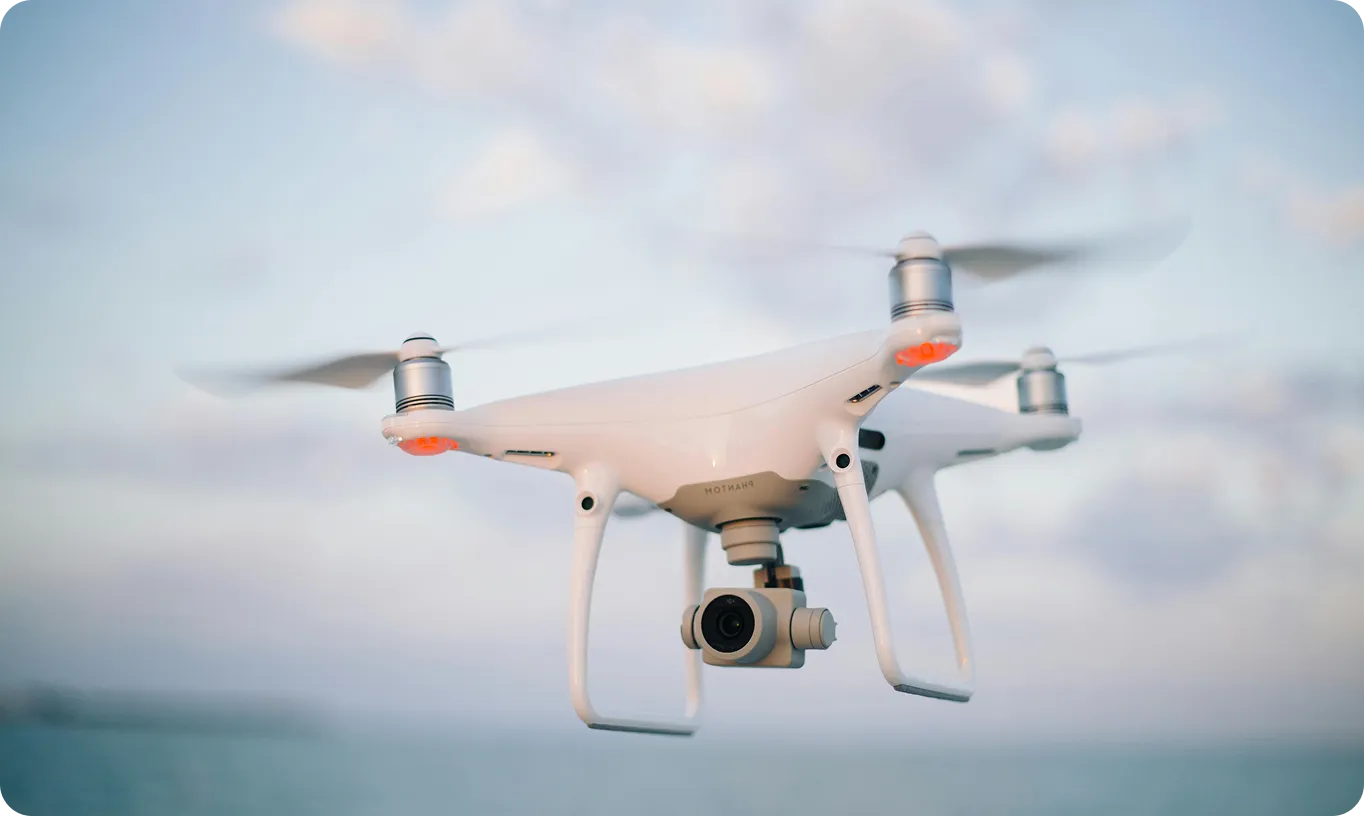
For example, a major shift is happening in deliveries. AI-powered drones are changing how products arrive at our homes. These smart drones are expected to handle around 808 million deliveries in the next decade, turning the skies into the newest delivery route for everyday commerce.
Delivery drones use artificial intelligence (AI) and computer vision, a subfield of AI that is used to analyze visual data, to navigate and maneuver around obstacles. Computer vision models like Ultralytics YOLO11 can help drones detect and track objects in real time, allowing them to better understand and interact with their environment.
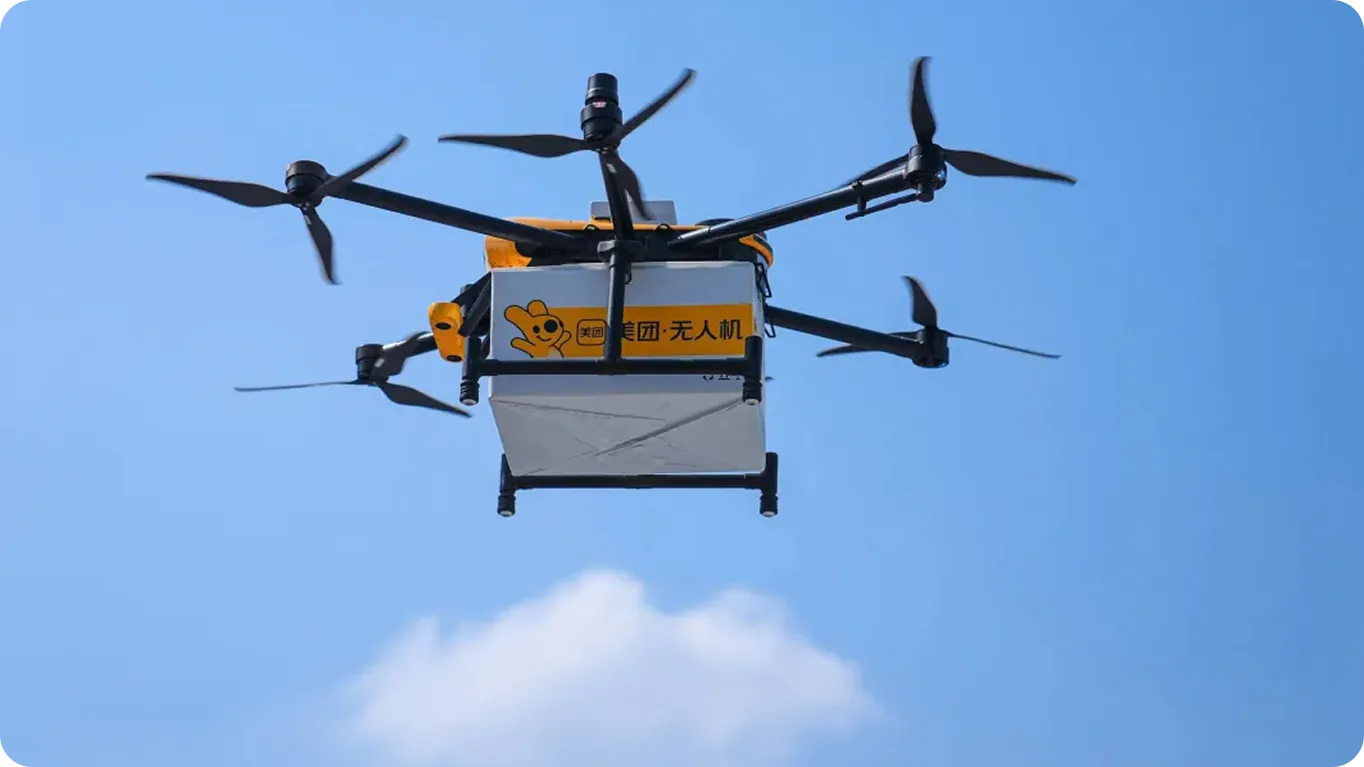
Companies like Meituan and DJI are already integrating computer vision into their drones. In fact, the rapid adoption of drones in various industries has set up the AI drone market to rocket to $206.9 billion by 2031.
In this article, we’ll take a closer look at how computer vision models like Ultralytics YOLO11 can be used in drone-based applications like drone deliveries. We’ll walk through an example that will showcase how these technologies can be developed and tested before being used in real-world scenarios.
A key part of delivery drones is their ability to detect houses as they navigate. To recreate this capability and understand how it works, we’ll train a computer vision model that can identify houses in footage captured by an aerial drone. We’ll custom-train YOLO11 for this, which involves fine-tuning a pre-trained YOLO11 model to recognize and detect houses by using labeled examples.
To do so, we’ll need high-quality video data from a drone. Interestingly, even without access to a real drone, we can still generate realistic aerial footage. Let’s take a look at how.
Google Earth Studio is a web-based animation tool that can be used by users to create still and animated content using Google Earth's satellite and 3D imagery. We can use it to create realistic aerial footage.
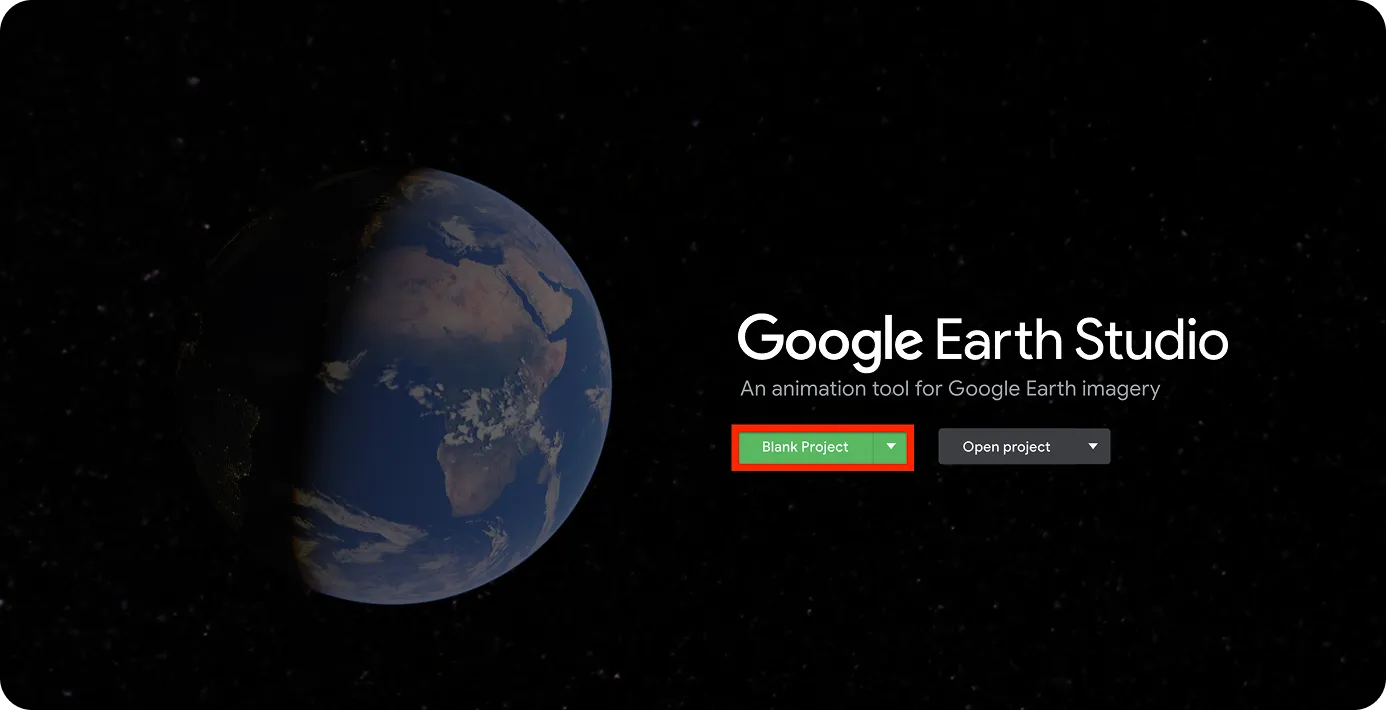
The first step is to open Google Earth Studio and create a project, as shown below.
You’ll need a Google account to sign in.
Once you have signed in, you can pick a location for your artificial drone video. Using the search bar in the top left corner of the page, you can search for locations. For this tutorial, we’ll choose Canada. Also, since we are going to train a model to detect houses, our drone video should have an aerial view of houses.
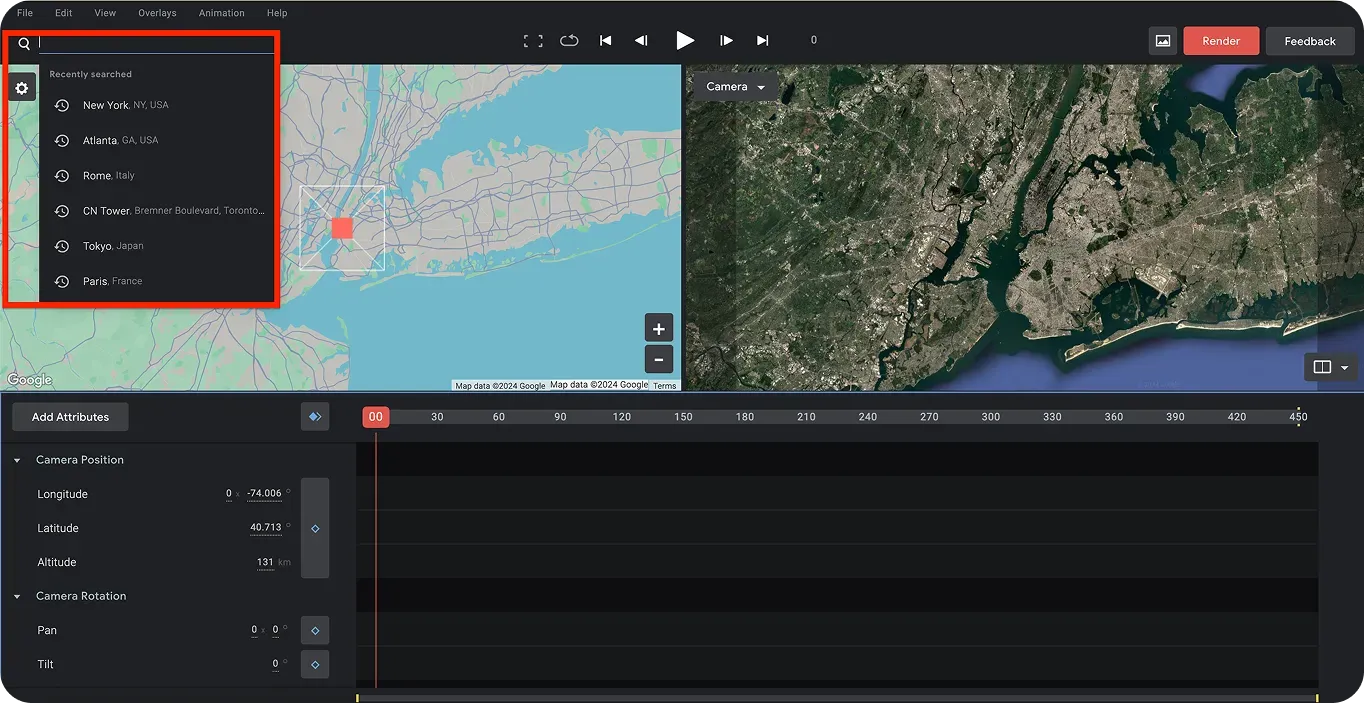
Next, we can set the first and last time frames to capture the motion of the artificial drone shot. Once you’ve chosen the starting location for the drone shot, set the first frame using the blue diamonds, as shown below.
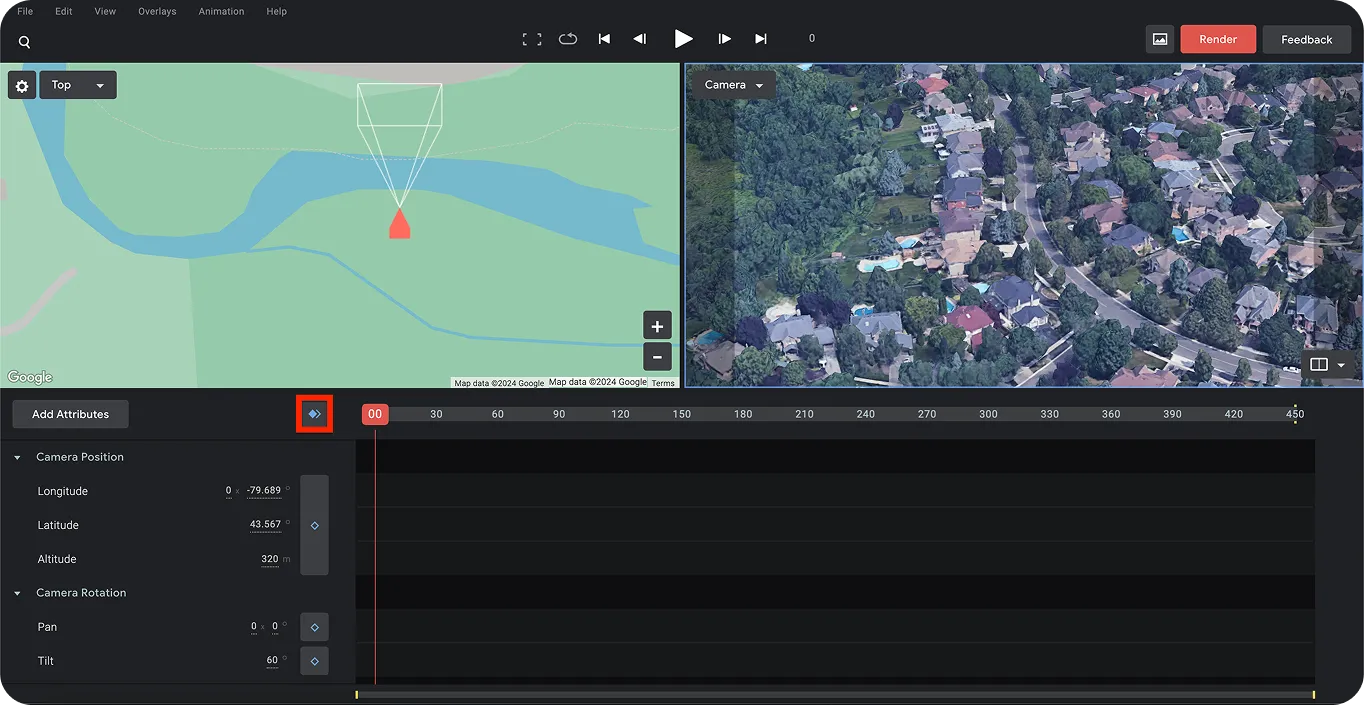
Next, we can choose the last frame to determine the drone’s destination. This will help us create a moving effect for the drone footage. To do this, slide the bar (highlighted below) to the right to a specific time in order to create the moving effect for the drone shot. Once again, use the blue diamonds to set the last point.

Finally, you can save this project and render it by clicking the red “Render” button in the top right corner of the page. This will give you the final video output of the drone shot, successfully creating artificial drone video footage.

Now that we’ve created artificial drone video footage, the next step is to label or annotate the houses in it. We’ll also need to separate the individual frames of the video.
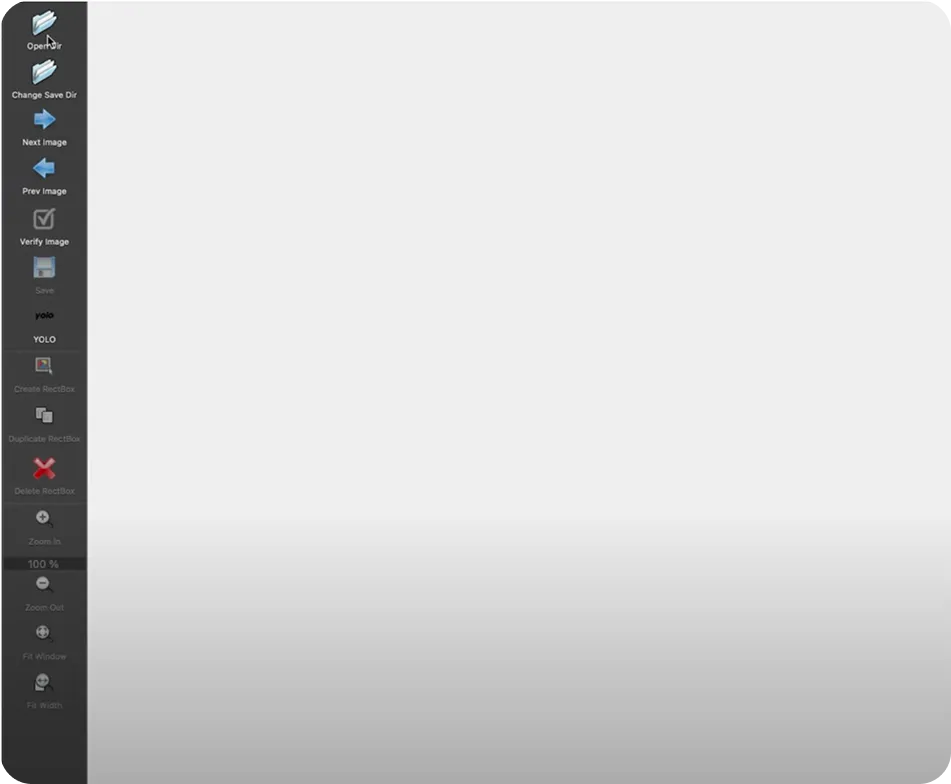
To get started with this, we’ll install LabelImg. LabelImg is an open-source image labeling tool. You can install it directly from the terminal using the pip package installer by running the following command: “pip install labelImg”.
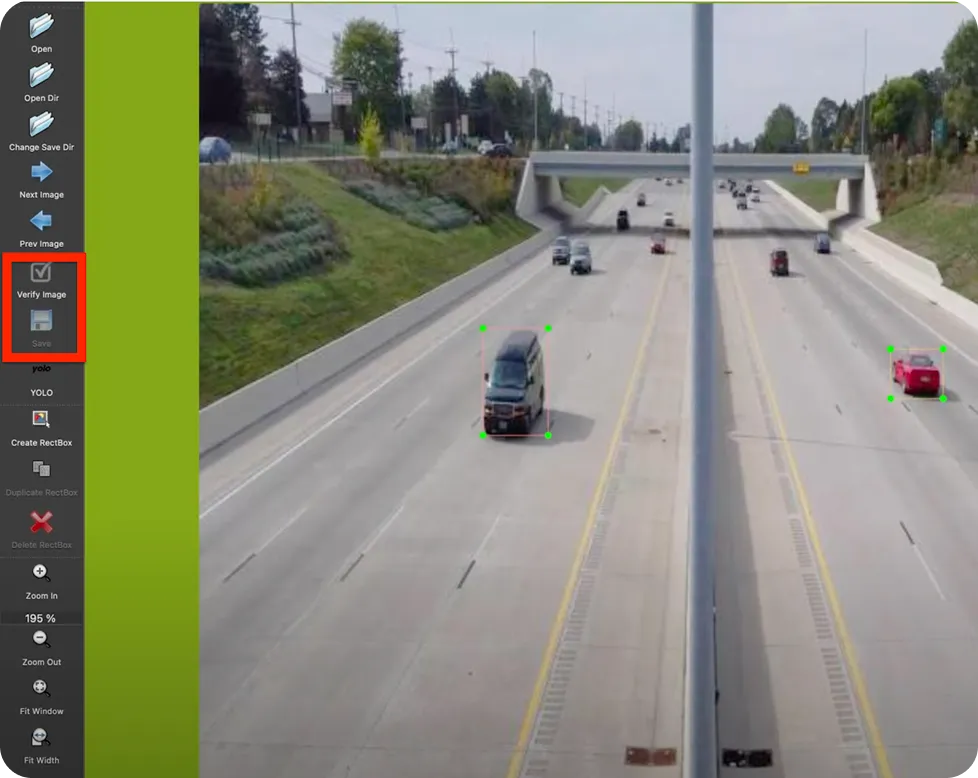
After installation, you can run the tool using the command ‘labelImg’ on your terminal or command prompt. This will bring you to the page shown below.
Meanwhile, we can either use an online video-to-image converter or a tool called FFmpeg to split the video into frames. FFmpeg is a collection of libraries and tools to process multimedia content such as audio, video, subtitles, and related metadata.
You can use the following terminal command to separate each frame of the drone footage video:
Once we’ve separated the frames of the drone footage, we can start labeling the objects (houses) in them. By navigating to the image folder through the LabelImg tool, we can label the objects in each image. Ensure to save and verify every labeled image. After annotating the images, we can now move on to training YOLO11 using this data.
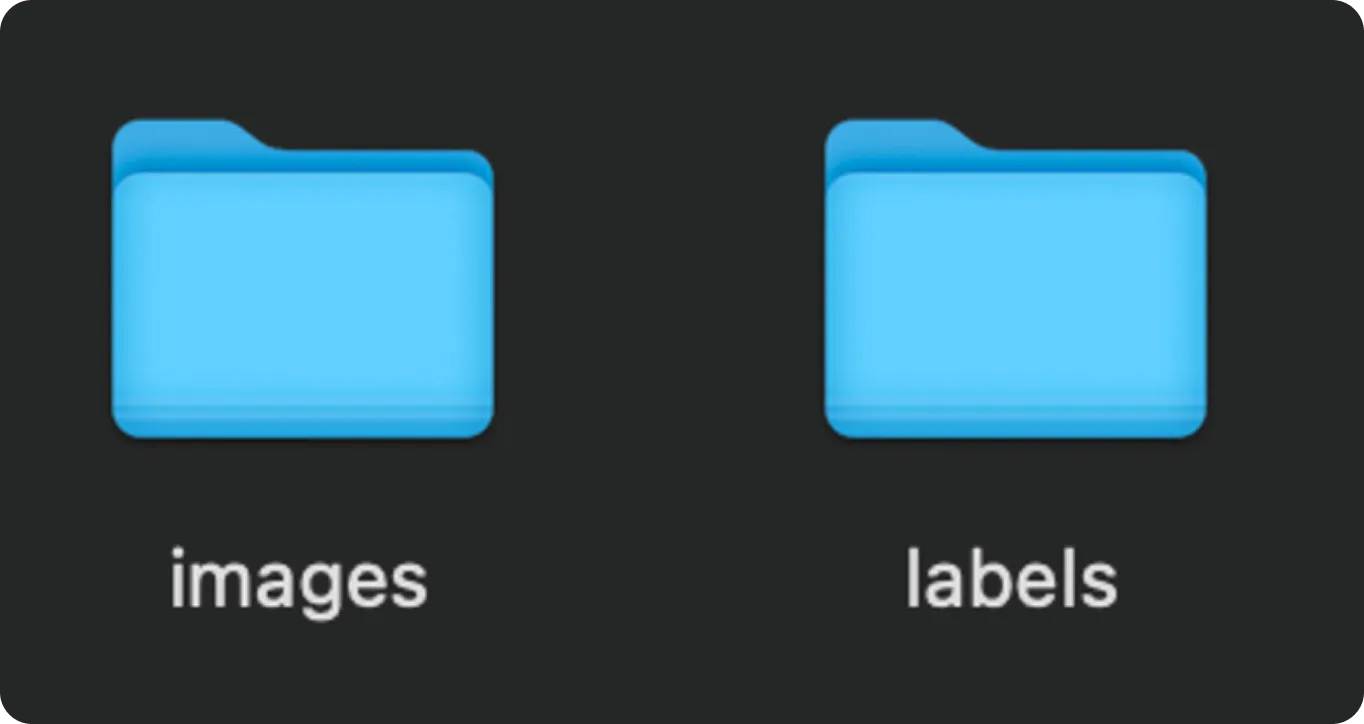
Before we start training YOLO11, we’ll organize our images and labels. Start by creating two folders: one named "train" and the other "valid". Split your images between these folders. Inside each, create separate subfolders for the images and their corresponding label files (text format), as shown below.
Then, we can start training the YOLO11 model as follows:

from ultralytics import YOLO

# Load a YOLO11 model
model = YOLO("yolo11n.pt")  # choose your model, e.g., YOLO11 nano

# Train the model with your data and settings
model.train(data="data.yaml", epochs=100, imgsz=640)
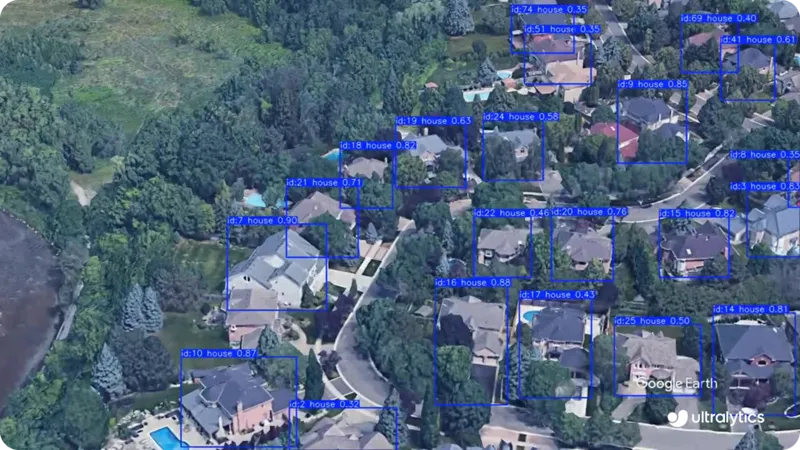
The trained YOLO11 model can now be used to make predictions through a process called inferencing. Inferencing involves using a model to analyze new, unseen data based on what it learned during training. In this case, the model can be used to find and label specific objects, like houses, in images or videos by drawing bounding boxes around them.
To run a prediction, you can use the trained YOLO11 model on an input video using the following Python code. In this example, we’ll use the same artificial drone video that was used for training, but you can use any other video file if you prefer.
# Import library
from ultralytics import YOLO

# Load the YOLO model
model = YOLO("best.pt")  # Choose your custom-trained model

# Predict the results from the model
results = model.predict(source="path/to/original/video.mp4", show=True, save=True)
After running this code, the output video file with the predictions and bounding boxes will be saved.
Detecting houses for drone delivery packages is just one example of how computer vision and YOLO11 can be applied. Here are some other real-world uses of computer vision, YOLO11, and aerial drones:
AI drones powered by computer vision are changing many industries, from delivering packages to helping in emergencies and farming. In this guide, we walked through creating an artificial drone video, labeling objects in it, training YOLO11, and using it to detect houses.
Applying object detection to drone footage makes these drones smarter, allowing them to recognize and track objects automatically in real time. As technology improves, AI-driven drones will likely play an even bigger role in making deliveries faster, improving security, and helping with disaster response.
Join our community and explore our GitHub repository to learn more about Vision AI, and check out our licensing options to kickstart your computer vision projects. Interested in innovations like AI in manufacturing or computer vision in the automotive industry? Visit our solutions pages to discover more.